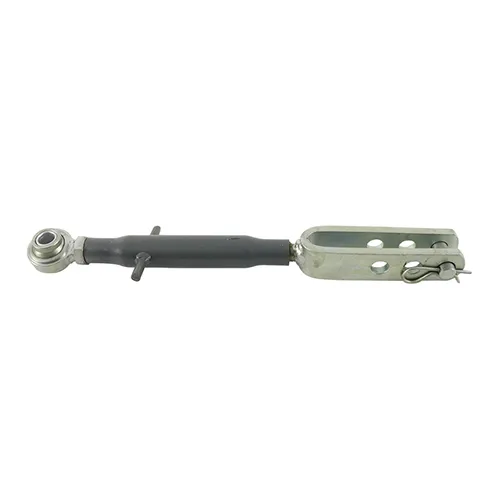
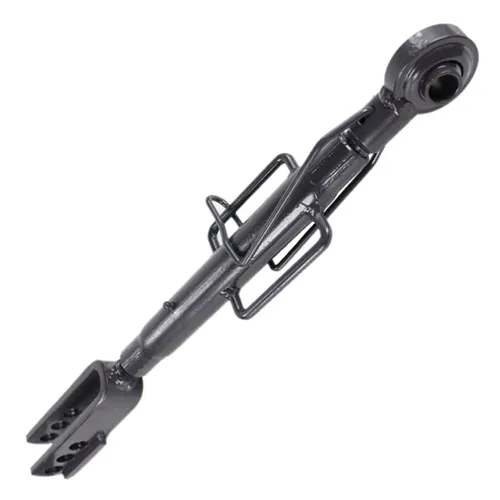
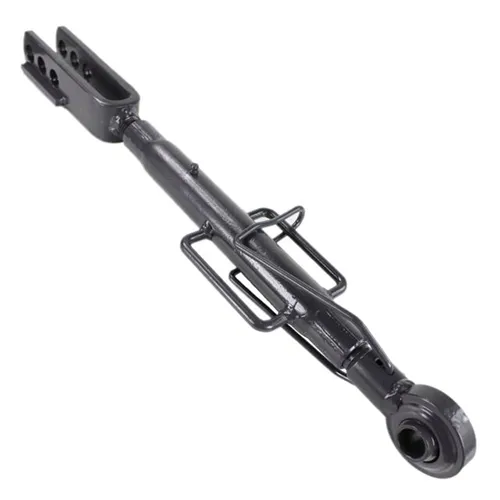
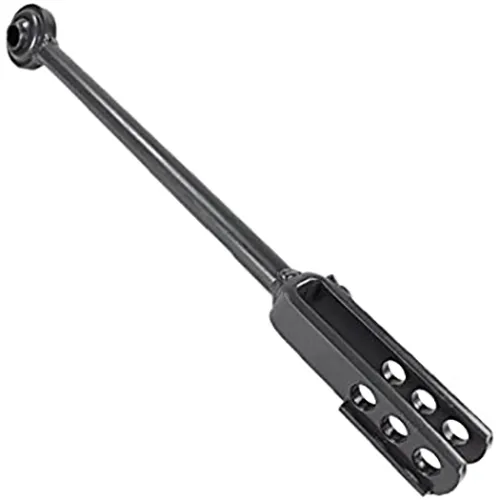
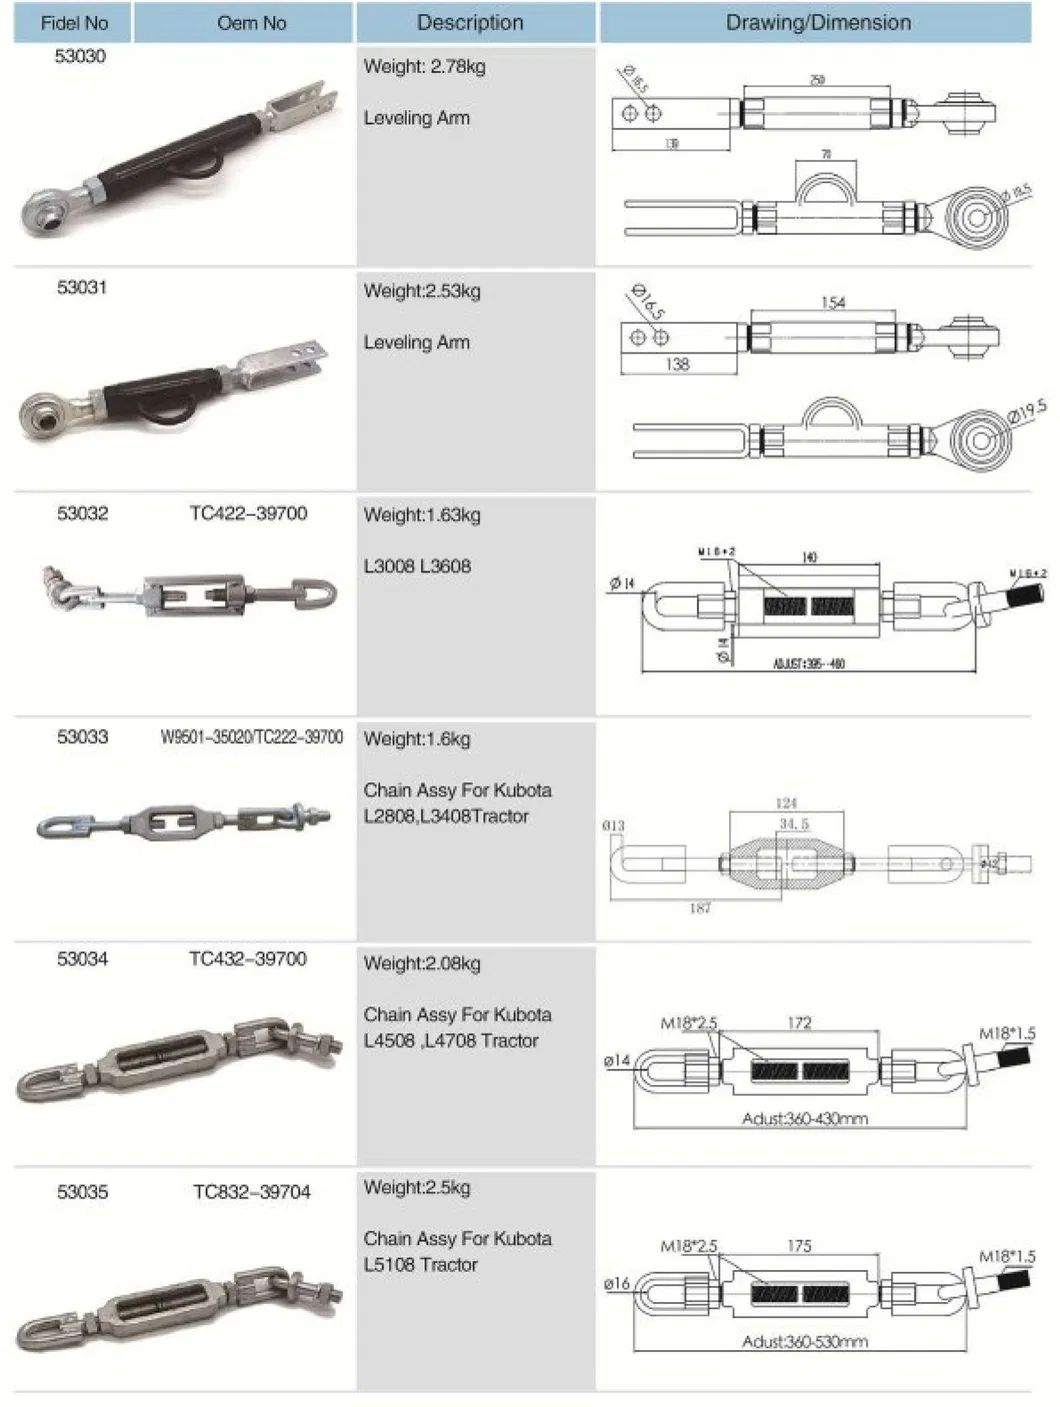
Experience unparalleled stability with Raydafon Group's Leveling Arm, crafted for precision in any setup. Its innovative design and durable materials ensure effortless leveling, ideal for professionals and DIY enthusiasts seeking reliability. Feel the confidence of a perfectly balanced solution, outperforming competitors with superior adjustability. Upgrade your workspace today—quality you can trust!
Taking care of your leveling arm requires regular maintenance. A broken or defective assembly must be replaced. You should also calibrate the servo motor and adjust the angles accordingly. If you have a new leveling arm, you can read this article for more information. This article also covers the stow position of your leveling arm. To avoid stowing your leveling arm in the wrong position, you should read this article first. Calibrate the servo motor Before you can calibrate the servo motor of a leveling arm, you must first ensure that the robot's axis is stable. Instability causes an exponential increase in position error, and the oscillations never dampen. The Step Response tab in MAX will show you an example of step response, and the table below describes elements to consider when determining the axis's stability.The servo motor of an Otto leveling arm has a 180-degree rotation range. To calibrate the servo motor correctly, you need to ensure that the servo is centered on the arm and that it is positioned at the right angle. To do this, use the white key that came with the servomotor to attach it. Once it is in place, the servo motor is properly calibrated. A feedback output gives an accurate and dynamic reading of the motor shaft position. This type of signal is useful for calibrating the servo motor as it allows users to fine-tune its position and insert a time delay after driving it. This way, they can accurately read the position of the leveling arm and calculate its destination. In addition, the feedback output varies with the position of the motor shaft. Adjust the angles To adjust the angles of the leveling arm, you need to press the "test"? button two, three, or four times. The leveling arm's orientation must be vertical to achieve this. The + and - buttons are used for Up and Down orientations, and the adjusted angle will be indicated in the black box between them. The picture below shows the process of setting up the leveling arm. If you're not sure whether the arm is vertical, press the "test"? button twice, three times, or four times.
Company Information
Hot Tags: Leveling Arm Supplier, Custom Leveling Arm, Leveling Arm Wholesale
We use cookies to offer you a better browsing experience, analyze site traffic and personalize content. By using this site, you agree to our use of cookies.Privacy Policy